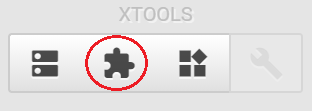
XTOOLS
There are three buttons in XTOOLS:

Register Table Editor
The left-hand side button is to call out the register table editor:

If clicked, the register table editor pops up:
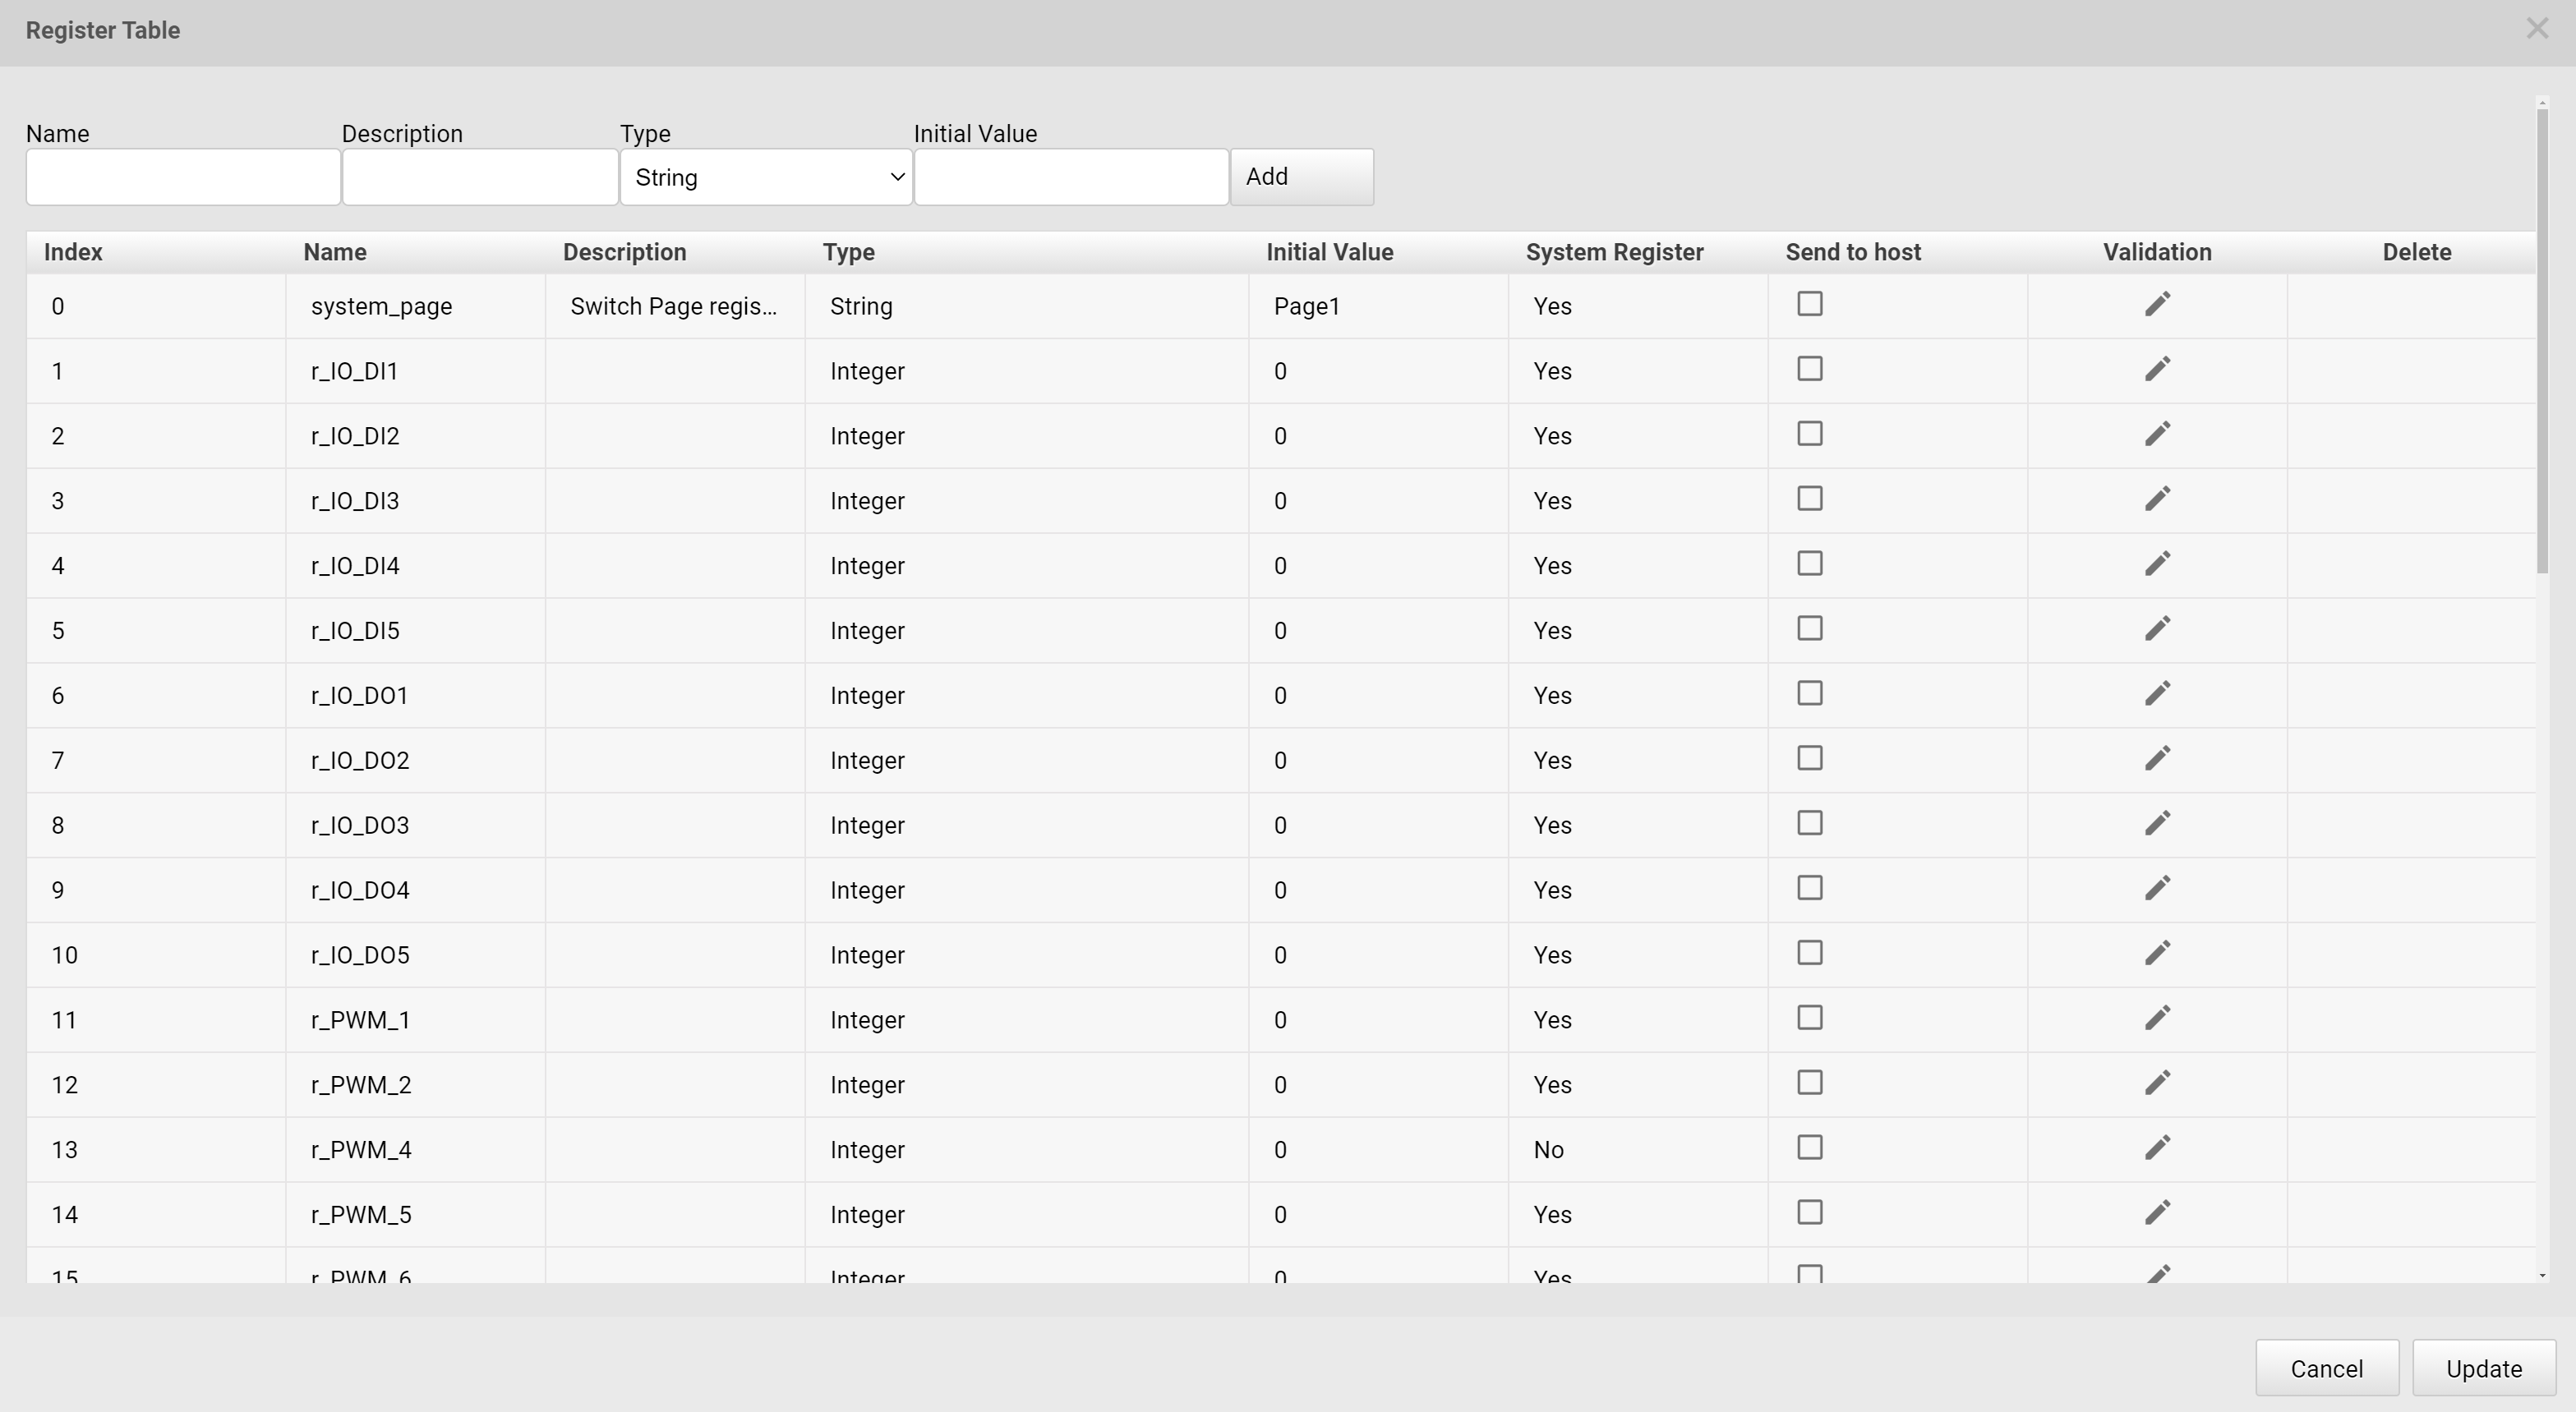
In this register editor, all the regsiters used in this HMI project are shown. These registers include the built-in system registers, and user-defined registers. The user-defined registers are listed below the system registers. Regisers are critical in ADE. In order to use ADE to design HMIs, users must be familiar with the concept and usage of regiser binding. Please refer to Register for more details.
Any registerw with “Send to host” option checked, any change of this regiser’s value during the HMI execution triggers a communication via UART for sending this register’s updated value to an external system (eg. Arduino). The default communication protocol is described in IOT Protocol.
Please note that “HMI execution” is referred to either running on Simulator or executing on Ubique Panel.
Clicking Validation invokes Blockly editor.
Clicking Validation button will pop up Blockly editor. We can use a Blockly program to vailidate the value of the register before updating the register. If the incoming value is validated, then the register is updated with that value. If the incoming value is rejected, the content of the register remains unchanged.
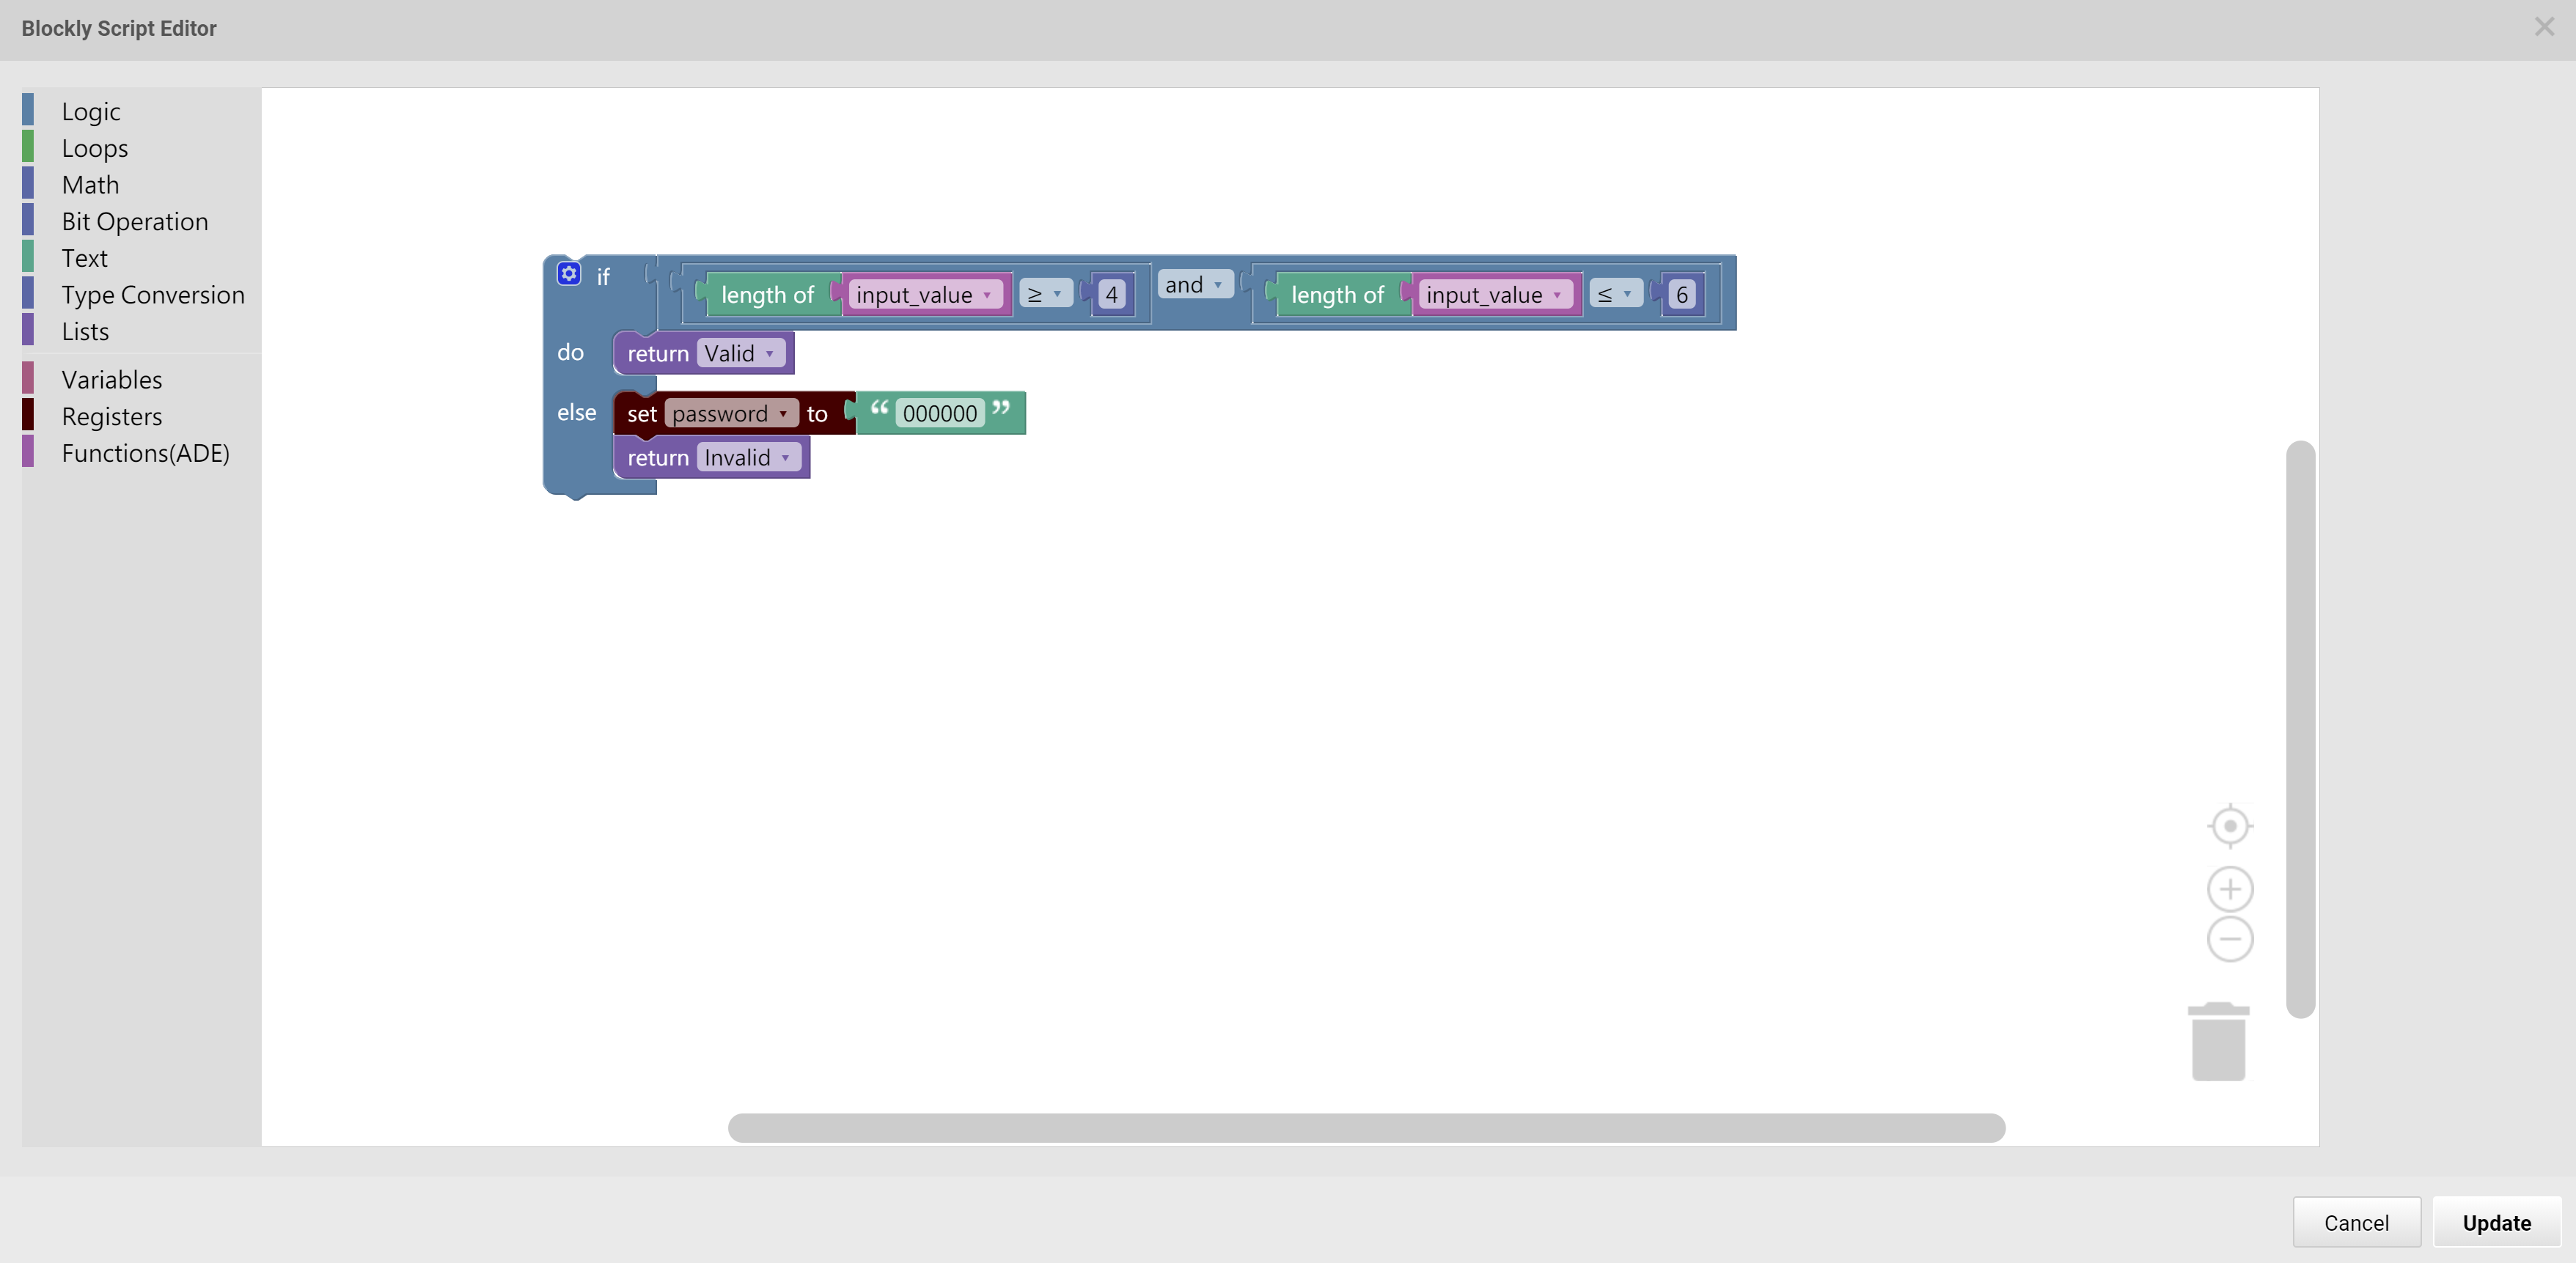
A Validation example:
Whenever there is a change for the register’s content, the validation funciton, input_value, checks if the incoming change meets the requirement, the length of the value must be longer than or equal to 4. If the length meets the requirement, return valid is returned; otherwise, return invalid is returned.
-
input_value: Values about to be written into a register
-
return valid: Write input_value into the register
-
return invalid: The content of the register remains unchaged
The length of the data must be larger than or equal to four; otherwise the data is rejected
Global Function Blockly Editor
The middle button of XTOOLS is to call out the Global Function Blockly Editor:
The Editor window pops up after the button is pressed:
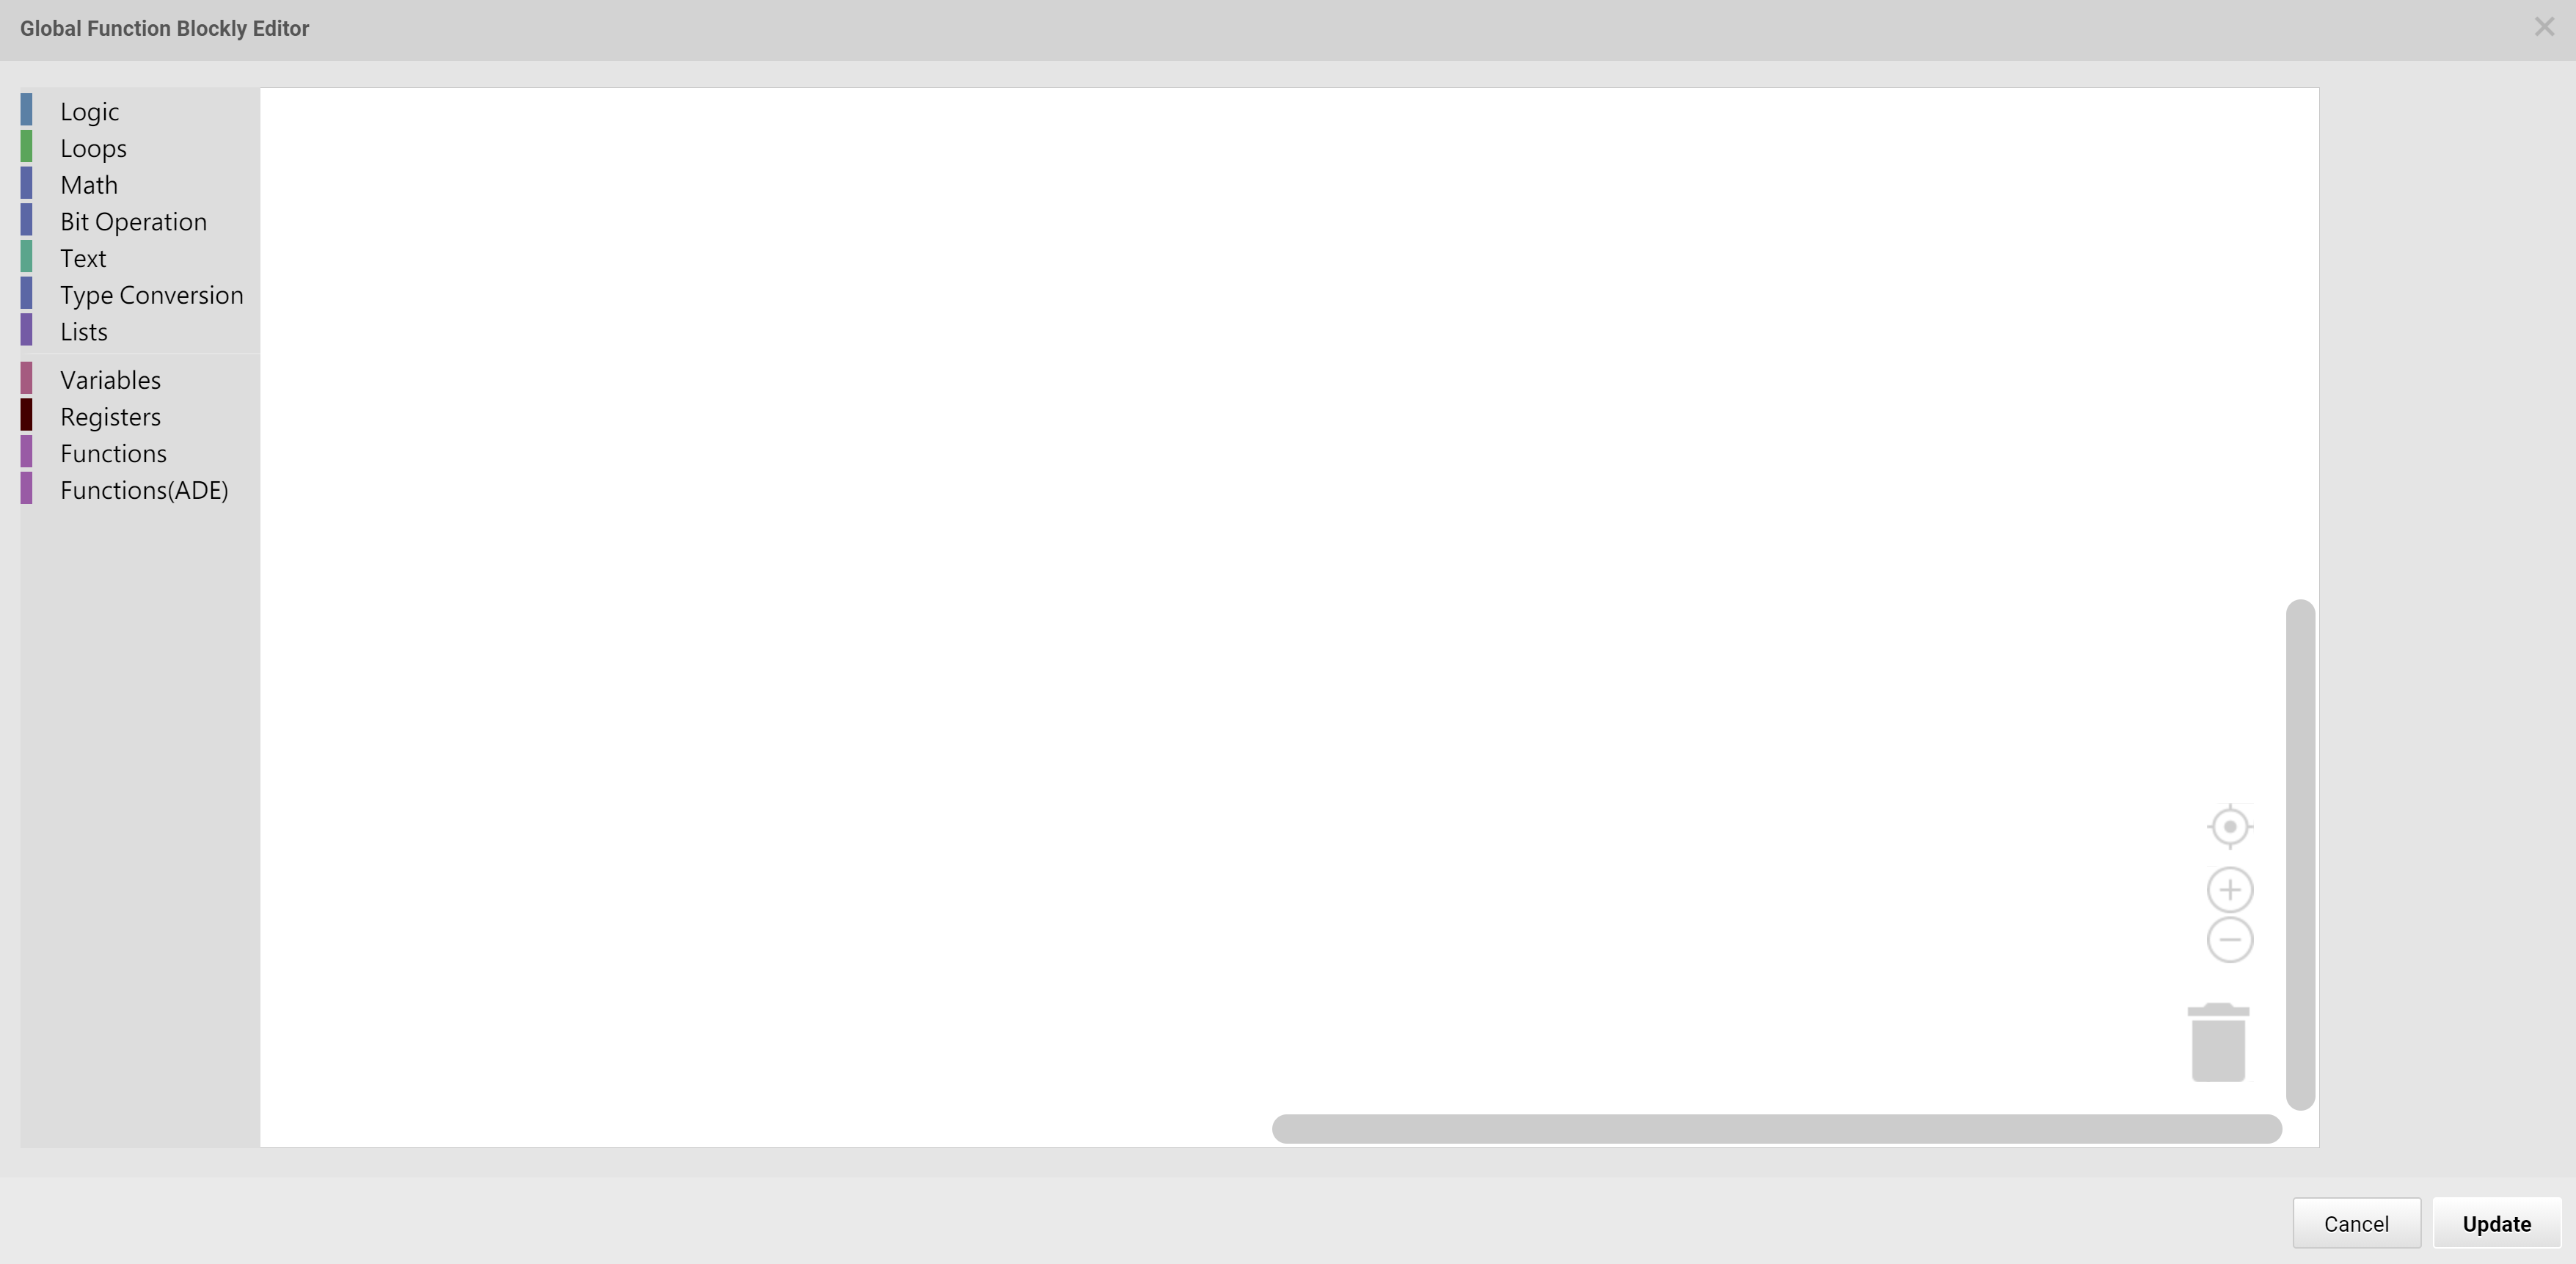
In this editor window, users can write Blockly programs that is valid globally in a HMI project. In other words, these Blockly programs are visible everywhere throughout the HMI project, unlike the individual widget’s Blockly function, which is only valid for the widget.
Blockly is a visual programming language and it’s an open-source languae. Users can find more information in the following website:
https://developers.google.com/blockly
System Ready Callback Function Blockly Editor
The right hand-side button of XTOOLS is for System Ready Callback Function program editor:
Once users press this button, a Blockly Editor window pops up. Users can enter Blockly programs for the system ready callback purpose.
The system ready callback function is to be executed right away once the HMI system is ready after powering up.